The installation of a Keil uVision plugin depends on the plugin to be installed, but it’s commonly divided in four main steps.
1- First, copy the files corresponding to the C51 directory of the Keil’s installation.
Assuming you have installed the application in C:\Keil, then the destination directory would be C:\Keil\C51.
Commonly, you just copy there the plugin DLL.
2- Copy the additional files to be used to the UV3 or UV4 directory, depending on whether you are using uVision 3 o uVision 4.
These use to be additional files used by the plugin. This should have been indicated by the plugin developer for each particular plugin.
3- Copy the needed files to each project directory. These are commonly project specific configuration files, like the ones specifying the used pins.
4- Configure the project in order to use the plugin.
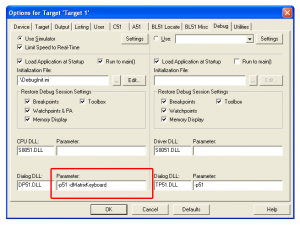
In uVision, go to Project->Options for Target, and then to the Debug tab.
There, we edit the field “Parameter” which is next to “Dialog DLL”…
We add the following to the back of the text string:
-dPluginName
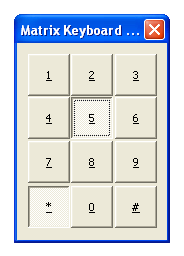
For example, in the case we wanted to use the Matrix Keyboard plugin, we would write, just as in the image:
-dMatrixKeyboard
That’s all, we’re ready to start the debugging mode and run our project.
Support appreciated!
All the content offered in this website is, except noted otherwise, of free nature. This means you can share it wherever you want if you do it freely and stating its source.
If it was useful for you and you’d like to contribute, you can make a donation or, at least, visit one of our advertisers of your choice; they are all around the site.


0 Response to “How to install a Keil uVision peripheral plugin”